Balayage Tips & Tricks with Leah Taylor
Balayage: the hair painting technique that took the beauty world by storm. At this point many painting methods have been tested, tried and used. You may think that you have your favorite technique down, but it never hurts to brush up on the basics.
Thank you for reading this post, don't forget to subscribe!
So, to give you a little refresher on the best practices for balayaging, we got together with Leah Taylor, Simply Organic Educator and owner / Senior Stylist at Smoke + Mirrors salon in Baltimore, Maryland.
Keep reading for Leah’s favorite hairpainting tips and tricks on how to create the perfect balayage without foils.
Leah Says...
Choose a lightener with great consistency.
Choosing a quality lightener is key when coloring hair.
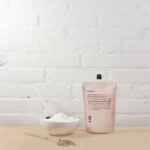
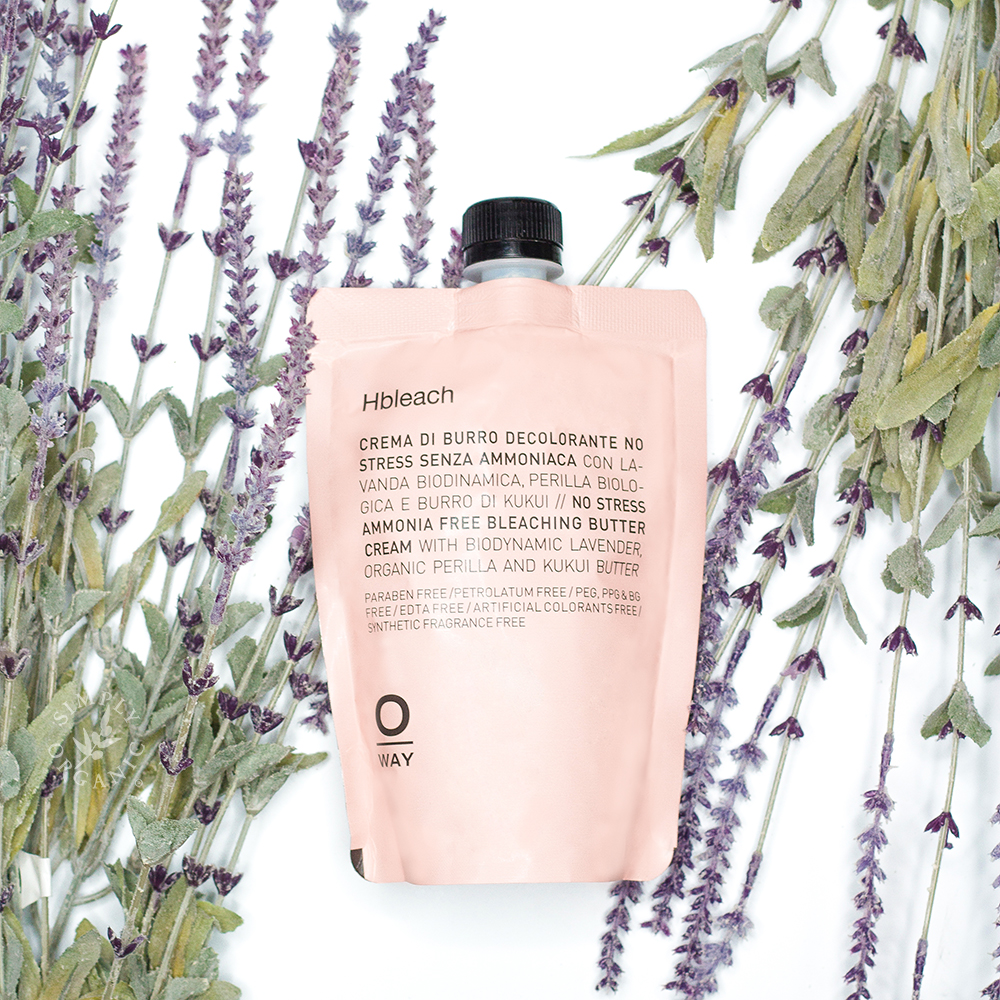
Leah recommends Oway Hbleach for its nourishing ingredients list. Kukui Butter is the game-changer, making up the base of Hbleach. It protects and strengthens the hair and scalp’s defenses against moisture loss and damage. Plus it contains pure essential oils, which all together give the lightener a creamy, buttery consistency.
Using a product that has a controllable consistency like Oway Hbleach makes it easy to brush and work with the hair. It’s great for a range of techniques, from open-air surface painting to heavier, more ombre applications.
For this live balayage class, Leah used a 1:1.5 ratio of Oway Hbleach paired with Oway Hcatalyst 40 volume.
Consider the haircut before painting the hair.
A haircut can change the entire look and placement of highlights, so it’s important to discuss your client’s plans during the consultation. For instance, if she has bangs that she wants to grow out, you might want to add a bit of lightening so the fringe blends well as the hair continues to grow. Think about how her highlights are going to look in, say, a month to six months.
Highlight areas where the sun naturally hits the hair.
Is your client going for an all-over sun-kissed look? Lighter and brighter all-over? Ombre? Or maybe more accented highs and lows? Consultation is everything!
During the consultation, look at how the light naturally highlights and lowlights the hair as you comb through. This will help to see where your focus points should be.
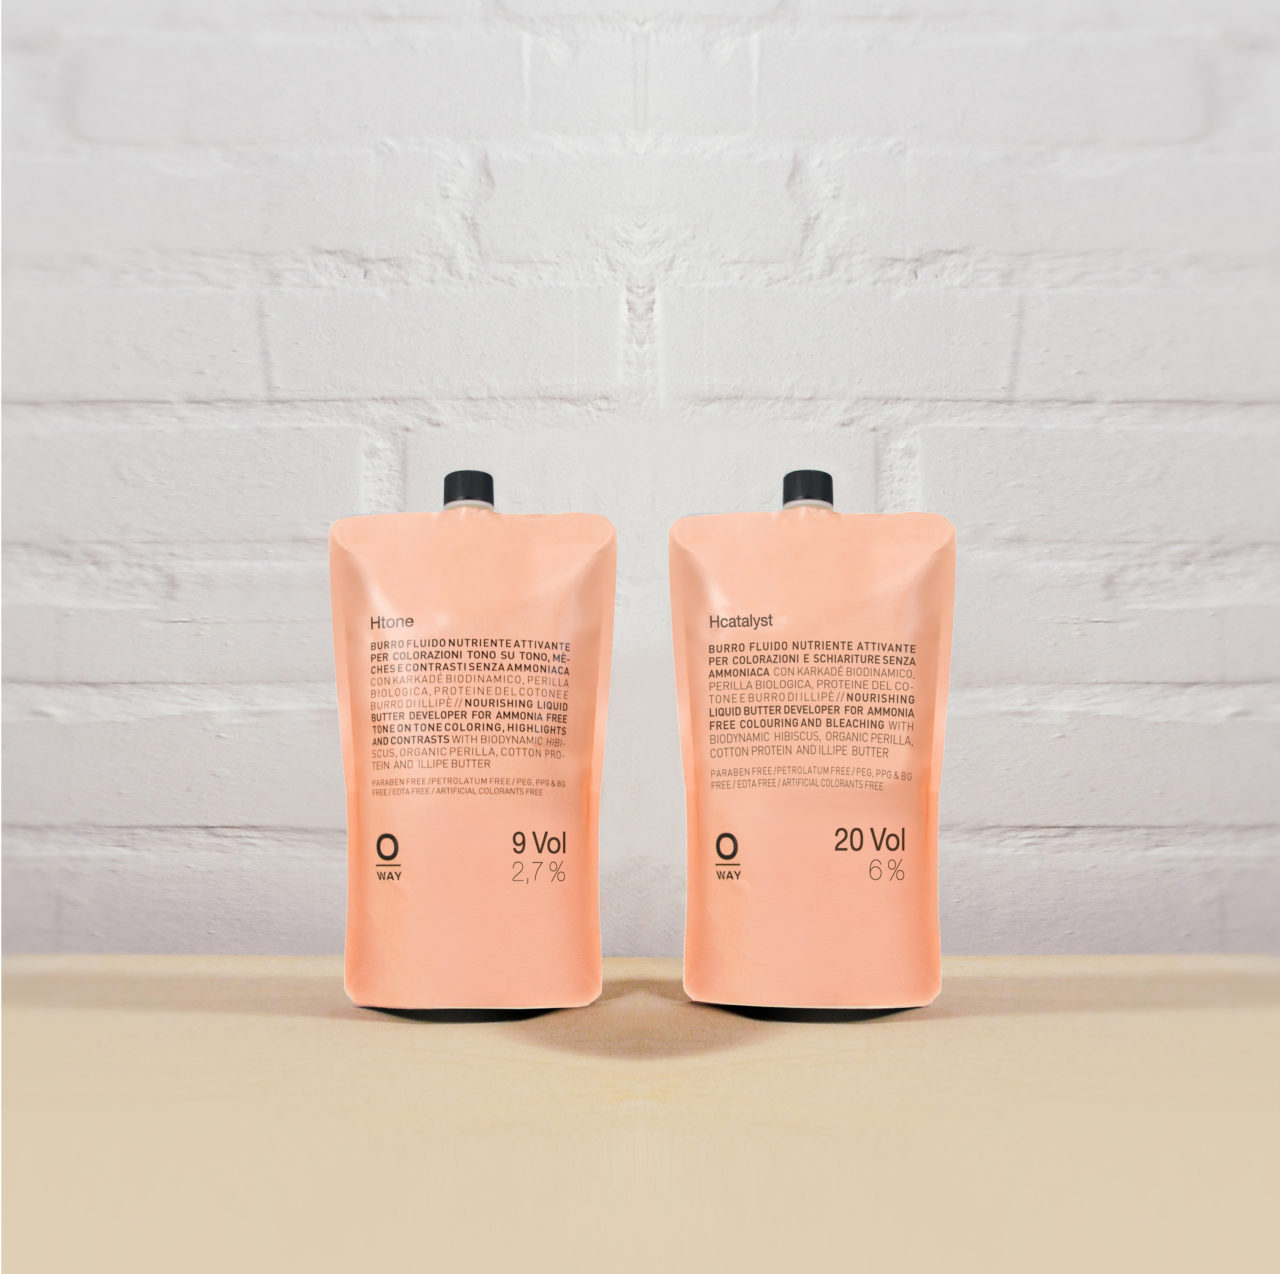
When choosing a developer, consider: size of sections, product type and technique.
When the sections are large and non-isolated (like in foil highlights), you need a higher volume to achieve lighter results.
If the idea of using high-volume developers makes you cringe, we totally understand. When used incorrectly they can damage the hair, but because Oway Hbleach and Oway Hcatalysts are super creamy and extra-nourishing on the hair, they give locks the protection they need during the lightening processes.
But as usual, always be sure to keep an eye on it while it’s processing.
Areas around the face lighten faster than the back.
The hair around the back processes longer than the hair around the face, so depending on the look you’re going for, it’s best to start painting from the back to get even and natural looking highlights.
And remember—the hair around the hairline in the front and at the nape alike are usually more fine. Changing your developer levels around those areas might be necessary for some clients. If you’re starting from the back, rinse that area out first while the front continues to process.
Make sure the product is evenly distributed on the hair.
Sections with too much product will process longer than the rest of the hair since they’re kept moist longer. This causes hotspots and uneven highlights, which are less than desired!
To avoid oversaturating the hair, start painting halfway down, then soften the highlight with a brush as you make your way up. Smooth down (do not squeeze) any excess product to the ends, adding more where needed.
Breaking open the ends can also help distribute the product evenly—this is a useful technique when you’re aiming for heavier blonde ends or an ombre effect.
P.S. Don’t forget to paint underneath!
Make sure to soften the hair underneath to avoid hard lines.
Tension is everything.
Always keep the hair taut while painting. It gives you a flat surface to paint on, which allows you to create a soft, smooth blend.
Most of the time, clients’ heads tend to drop and move back while you’re painting their hair. It’s good to remind them once in a while that you need to keep tension to make sure the lightener goes on correctly.
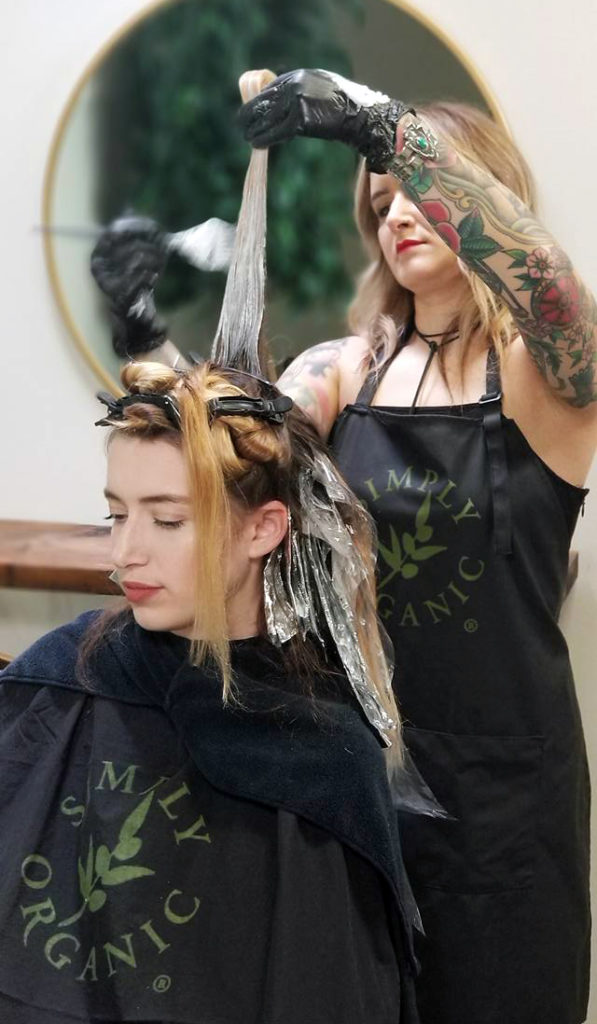
Don’t be afraid to play with different patterns.
When you get to the top, drop the remaining hair down so you can see how it falls on the head. Doing so will help you decide what kind of hairpainting pattern to use.
Some stylists prefer to do bricklay patterns or paint from the front to back and vice versa. Every stylist has a different method—it’s up to you to decide which technique you’re most comfortable using.
Use cowlicks as your guide on how to accent the hair.
As soon as you drop the rest of the hair down, observe how the hair falls on the head and where the light hits. Otherwise, if you’re accentuating an area that should be a lowlight, you will get an unwanted bright piece on top. After examining the hair, section according to how it splits naturally.
If you’re having issues creating a soft blend, try a zig-zag pattern.
The zig-zag pattern helps break up the highlights and lowlights, creating a natural-looking blend.
As soon as you reach your desired lift, remove the saran wrap.
Doing this exposes the hair to air and reduces heat, allowing for the front pieces to catch up with the back.
In the tutorial, because the front pieces were more of a fine texture and had some leftover lightened ends, those sections caught up within 20-30 minutes.
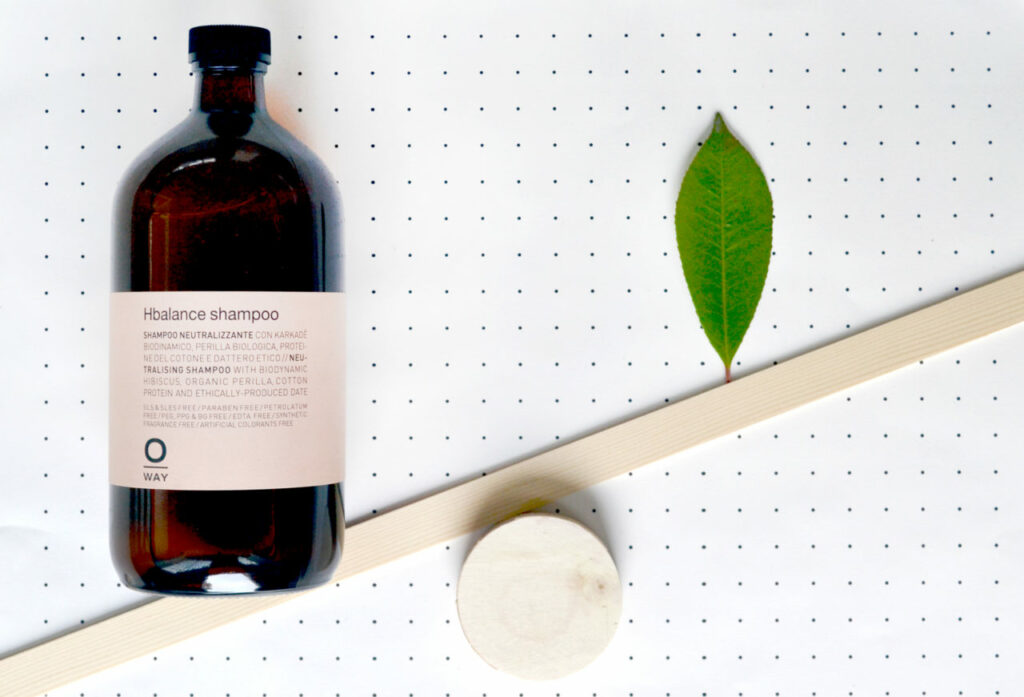
Finish the process with a pH-balancing shampoo.
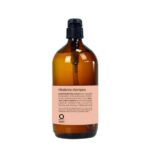
Bleaching and color treatments throw off the hair and scalp’s natural pH balance. For this balayage, Leah used Oway Hbalance Post-Color Neutralizing Shampoo without conditioner to re-balance the hair’s pH and neutralize any alkaline residues.
Toning Process
Leah wanted to create a seamless blend and neutralize some of the warmth, so her toner formula was a combination of Oway Hcolor 11.17 Frosted Platinum (10 g), Oway Hcolor 10.1 Ash Extra Light Blonde (10g), Oway Hcolor 9.1 Ash Very Light Blonde (30g) and Oway Hcolor 0.1 Ash Booster (2g) with Oway Htone 9 Volume Cream Developer.
Oway Hcolor 11.17 Frosted Platinum was used to reflect violet in order to balance the ash. The toner processed for 10 minutes.
Styling
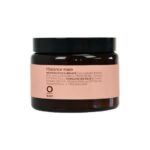
The model’s hair was shampooed with Oway Hbalance Post-Color Neutralizing Shampoo and conditioned with Oway Hbalance Post-Color pH Mask to restore the hair’s natural pH balance after the color service.
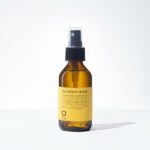
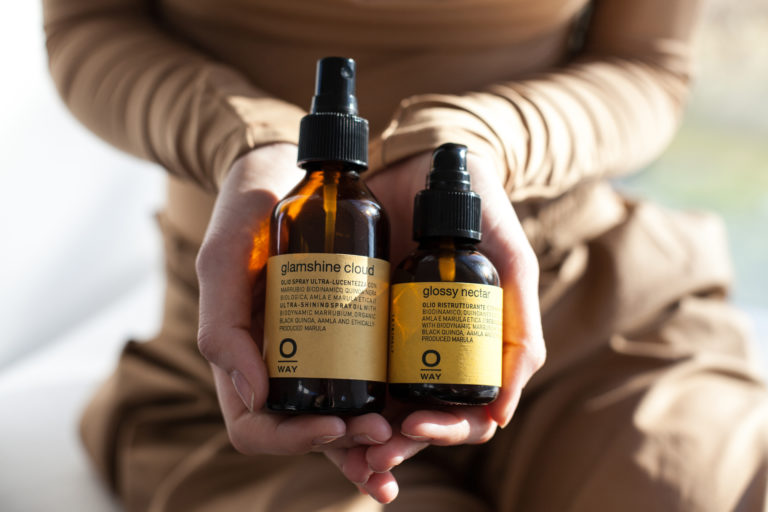
Then, Leah styled the hair with Oway Glossy Nectar on ends and Oway Sea Salt Spray before drying.
Finally, the model’s hair was sprayed with Oway Thermal Stress Protector before curling.
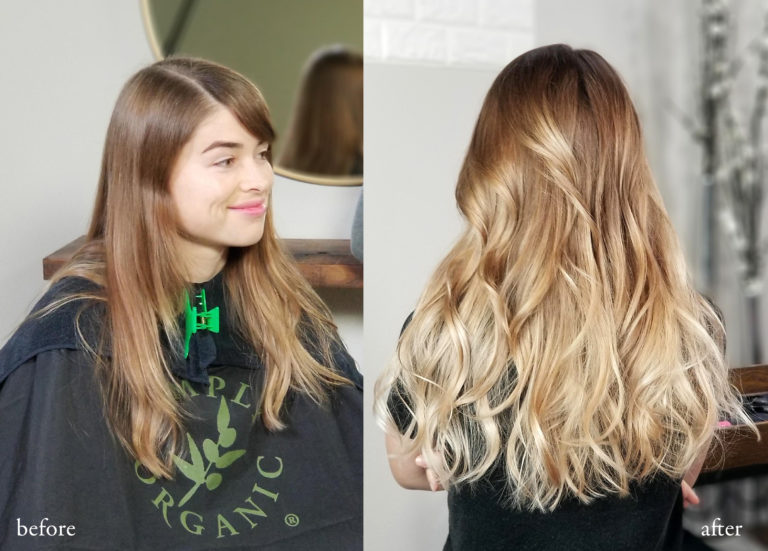
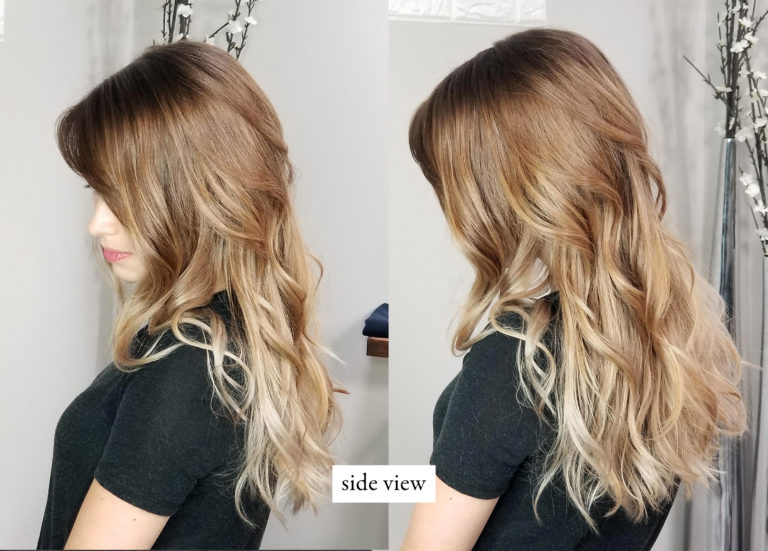
Before + After Shots of Leah's Oway Balayage:
Shop mentioned painting products here!
